DIY Halloween Costume | Piñata Disco Queen
Happy Friday!
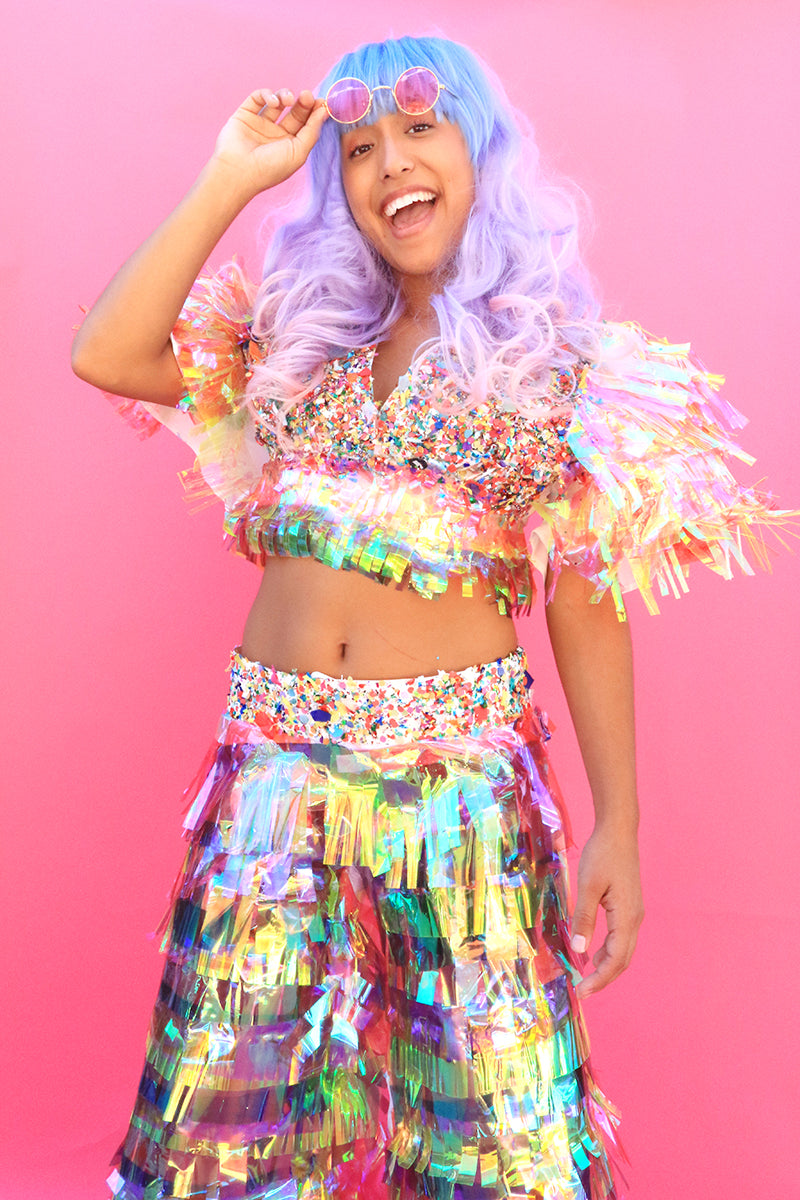
Today, we’re so excited to share our second Halloween DIY Costume....Piñata Disco Queen! Too good, right?!
As you know, we love piñatas - festive, fun and colorful! We also have a thing for RETRO fashion - billowing flares, platform shoes, sparkly fringe, pink-tinted sunglasses... think metallic GLAM. So, we decided to combine the two, and the inspiration resulted in a Piñata Disco Queen! Pretty groovy, huh?!
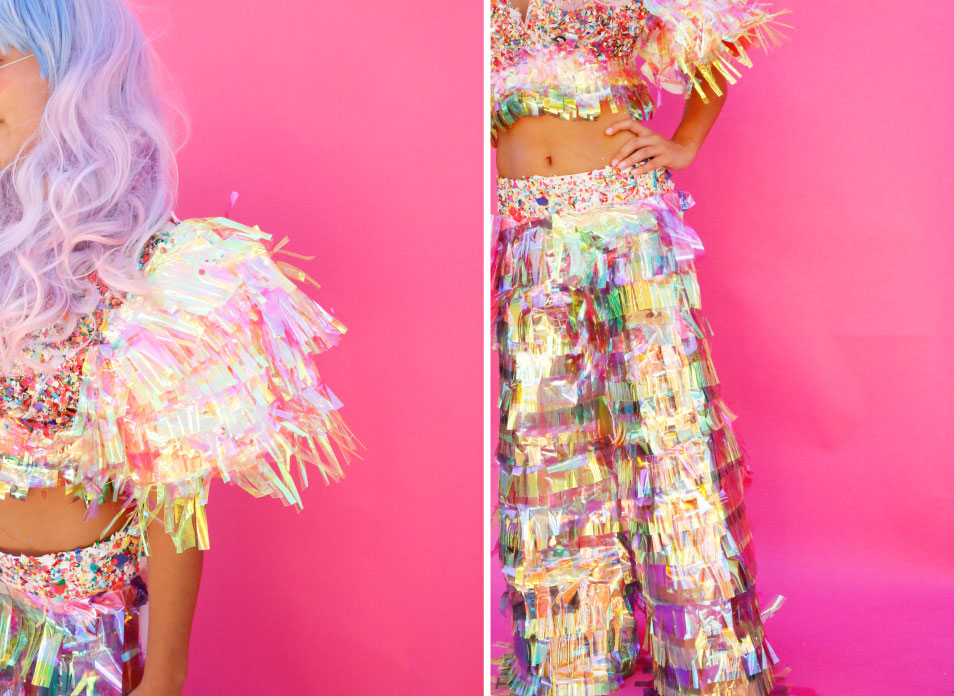
Look at those DIY FRINGE BELLBOTTOMS! We are just in love. Can we wear this to work everyday?!
Take a look below for the full set of instructions.
Materials Needed:- Bell Bottom Pants
- Crop Top Shirt
- Iridescent Cellophane Wrapping Paper (We used purple, yellow, metallic)
- Mermaid Wig
- Pink Sunglasses
- Mod Podge
- Scissors
- Confetti
 Step 1: Lightly apply Mod Podge to front of the crop top shirt (Only to the front bust area, not onto the sleeves). Careful not to apply too much Mod Podge. If you apply too much, the shirt fabric will become stiff, and that's not good for disco dancing! Step 2: Generously apply confetti all over the front of the shirt. Let dry overnight. Step 3: Cut 50 long strips of iridescent paper to be used as the fringe on the front of the pants. We cut ours approximately 5”H x 16”W strips. Stack 3-4 strips on top of each other. Then, using sharp scissors, cut narrow slits every half inch or so to make textured, ruffled fringes. Be sure to leave 1 inch at the top. (This inch at the top of the paper will be glued down to the fabric.) Step 4. Start at the bottom of the pants, and using Mod Podge, glue one strip of the fringe onto the pants. Then, glue a second strip above the first. Then glue a third strip above the second, and so on… Continue gluing rows of fringe all the way up the pants, spacing each about ½” apart. Alternate colors (purple iridescent fringe, yellow iridescent fringe, metallic fringe, etc.). Work your way from the bottom to the top of the pants, overlapping each layer of fringe, until it’s completely covered. (For this costume, we only covered the front of the pants, not the back). Step 5: Cut another 20 strips of iridescent paper. This will be used as the fringe on the sleeves of the shirt. We cut ours approximately 4"H x 10"W. Using sharp scissors, cut narrow slits every quarter inch or so to make detailed fringes, leaving ½ inch at the top. This will be the fringe for the shirt sleeves (approximately 10 strips per sleeve). Step 6. Using Mod Podge, glue one strip of the fringe onto the shirt sleeves. Work your way from the outside of the sleeve to the inside of the sleeve. Cover both sleeves with the metallic fringe. Step 7: Cut another 4 strips of iridescent paper to be used as fringe for the bottom of the shirt. We cut ours approximately 4“ x 12”W. Using sharp scissors, cut narrow slits every quarter inch or so to make detailed fringes - again leave ½ inch at the top. Using Mod Podge, glue all 4 strips of the fringe onto the bottom of the shirt, working your way from bottom up. Step 8. Let it all dry overnight. Step 9. To make the belt, cut a strip of paper from heavy cardstock, vinyl paper, flexible cardboard, etc. (We used a vinyl strip, but whatever you have on hand that’s durable, flexible will work just fine). We cut our strip approximately 32”W x 3”H. Apply Mod Podge and confetti. Let dry. Step 10. Finally, put all the pieces together! We paired the disco outfit with this mermaid wig, John Lennon Glasses, and Gold Platform shoes.


We just can't get over this! This was SOOOO fun to make! Grab your disco ball, your dancing shoes, and turn up the volume on your playlist...
Cue the jazz fingers!
Stayin’ Alive, Stayin' Alive...
xo,
Team Thimblepress


Leave a comment